How To Debadge A Car
Peeling off those unwanted emblems can leave your car looking sleeker.
 Austin Lott | Capital One
If all those emblems affixed to your vehicle's trunk, doors, or fenders distract from its otherwise clean style, you might be thinking about debadging your car. Debadging can be an easy way to make your vehicle look better to your eyes, or you might have a more practical reason, such as removing an aftermarket or dealer badge affixed before your car became your car.
Removing those badges — or debadging your car — isn't tough, as long as you take your time. We'll give you a few tips and tricks if you decide to tackle the task of debadging a car yourself.
Step 1: Inspect and Clean
Take the time to prep the area on the car and inspect the badge in question. Most are held on by an adhesive strip behind the plastic or metal emblem. Older cars might have clips, screws, or pegs affixing the badge to the bodywork. Removing these will likely expose holes that most likely will require a body shop to rectify.
Before you remove a badge held on by adhesive, clean around it to remove any dirt or debris that might scratch the paintwork later. A simple soap and water mix with a soft cloth towel will do the job in most cases.
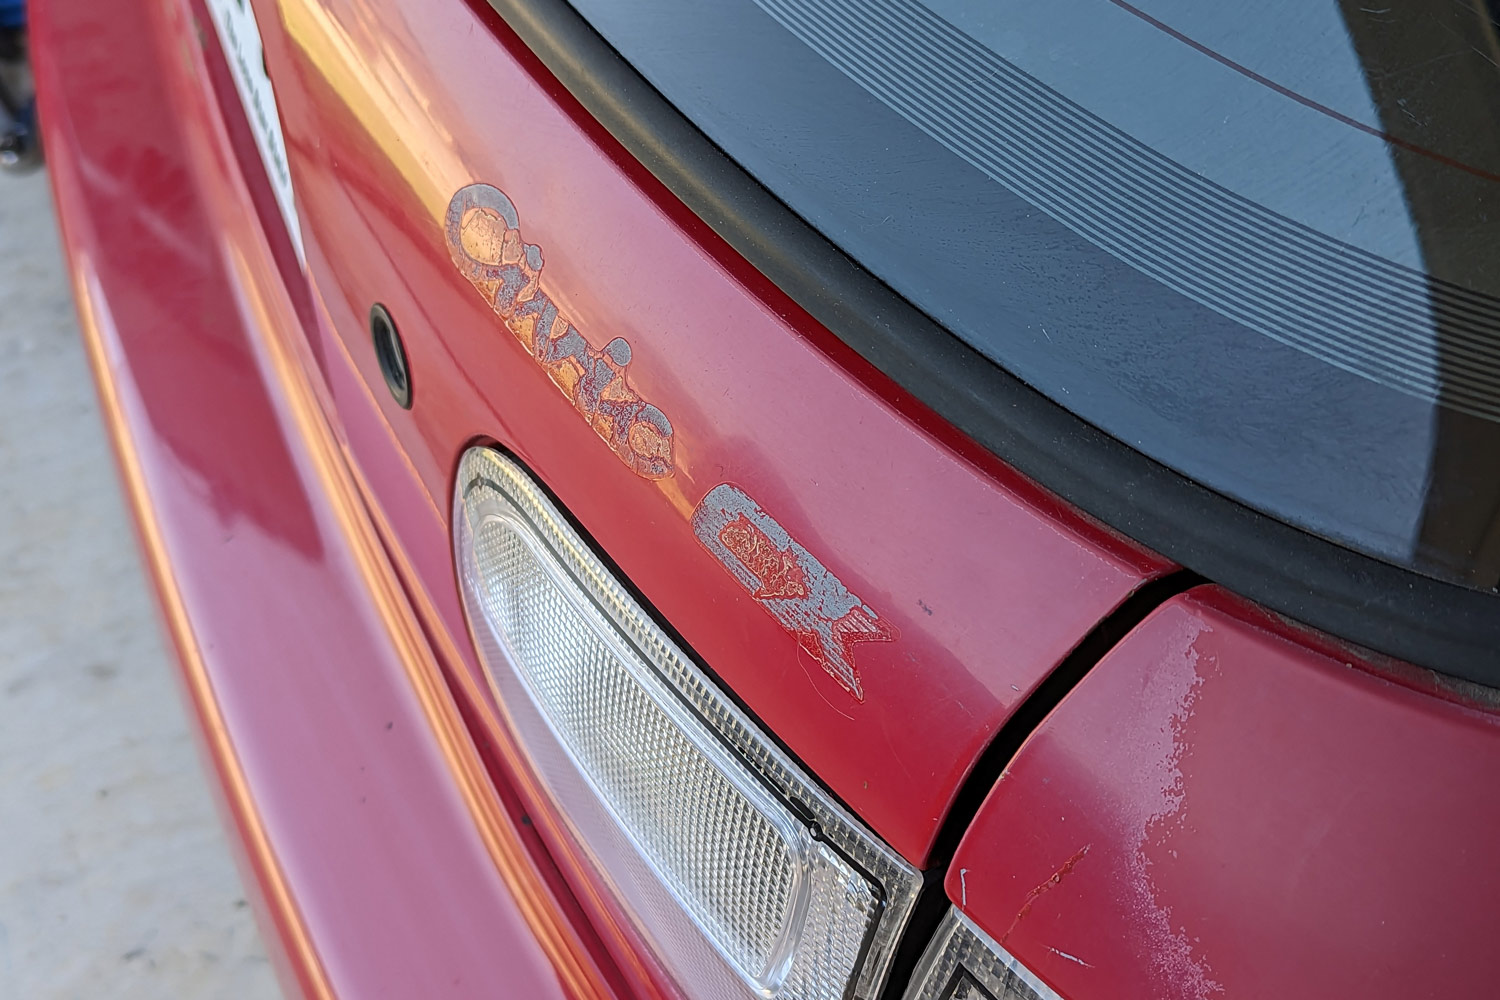
A tip: If you have an older car with faded paint, debadging could reveal a previously unexposed finish beneath. You might want to think twice before removing those badges, or you may need to rebadge your car.
Step 2: Remove the Badge
First, apply heat with a heat gun or a hair dryer to soften the adhesive. If you don't have either of those, repeated applications of hot — but not boiling — water can sometimes work.
Some badges — particularly those not installed at the factory — might pop off the vehicle after a little heat. If not, proceed with the next steps.
After heating up the badge and surrounding body panel, you can begin separating it from the car. A thin type of string such as dental floss or fishing line will be strong enough to withstand some pressure without damaging the paint. Don't use metal wire, a screwdriver, or a razor blade.
Slide the string or floss behind the badge and slowly work it back and forth until the badge begins to peel off. Don't worry if some adhesive remains even after the letters or emblem are gone.
Step 3: Removing the Residue
After all that work, you don't want to leave behind any ghosts of badges past.
Depending on the type of residue, it might come off with some soap, water, and light scrubbing with a soft cotton towel. If it's more stubborn, look to an adhesive remover such as Goo Gone or Goof Off, but use it sparingly. A little bit goes a long way.
If the paint still feels bumpy and you still see hints of glue, grab your drill and an eraser wheel attachment. These nifty tools have a special rubber compound that is designed to gently remove glue without damaging your paint.
Finally, with the adhesive removed, you might want to take the opportunity to give the entire car a good scrub and a protective wax or ceramic coating since the paint behind the previously-affixed badge hasn't seen the light of day in a while.
Written by humans.
Edited by humans.
 Brennan Sullivan
Brennan Sullivan is a writer and lifelong car fanatic. With an appreciation for all makes and models, Brennan is particularly passionate about the rich history of the automotive industry. In his spare time, he's the caretaker of a 1962 Sunbeam Alpine, and a Golden Retriever named Willow.
Related articles
View more related articles