How to Replace Tailgate and Hood Struts
Protect your head with this simple DIY job.
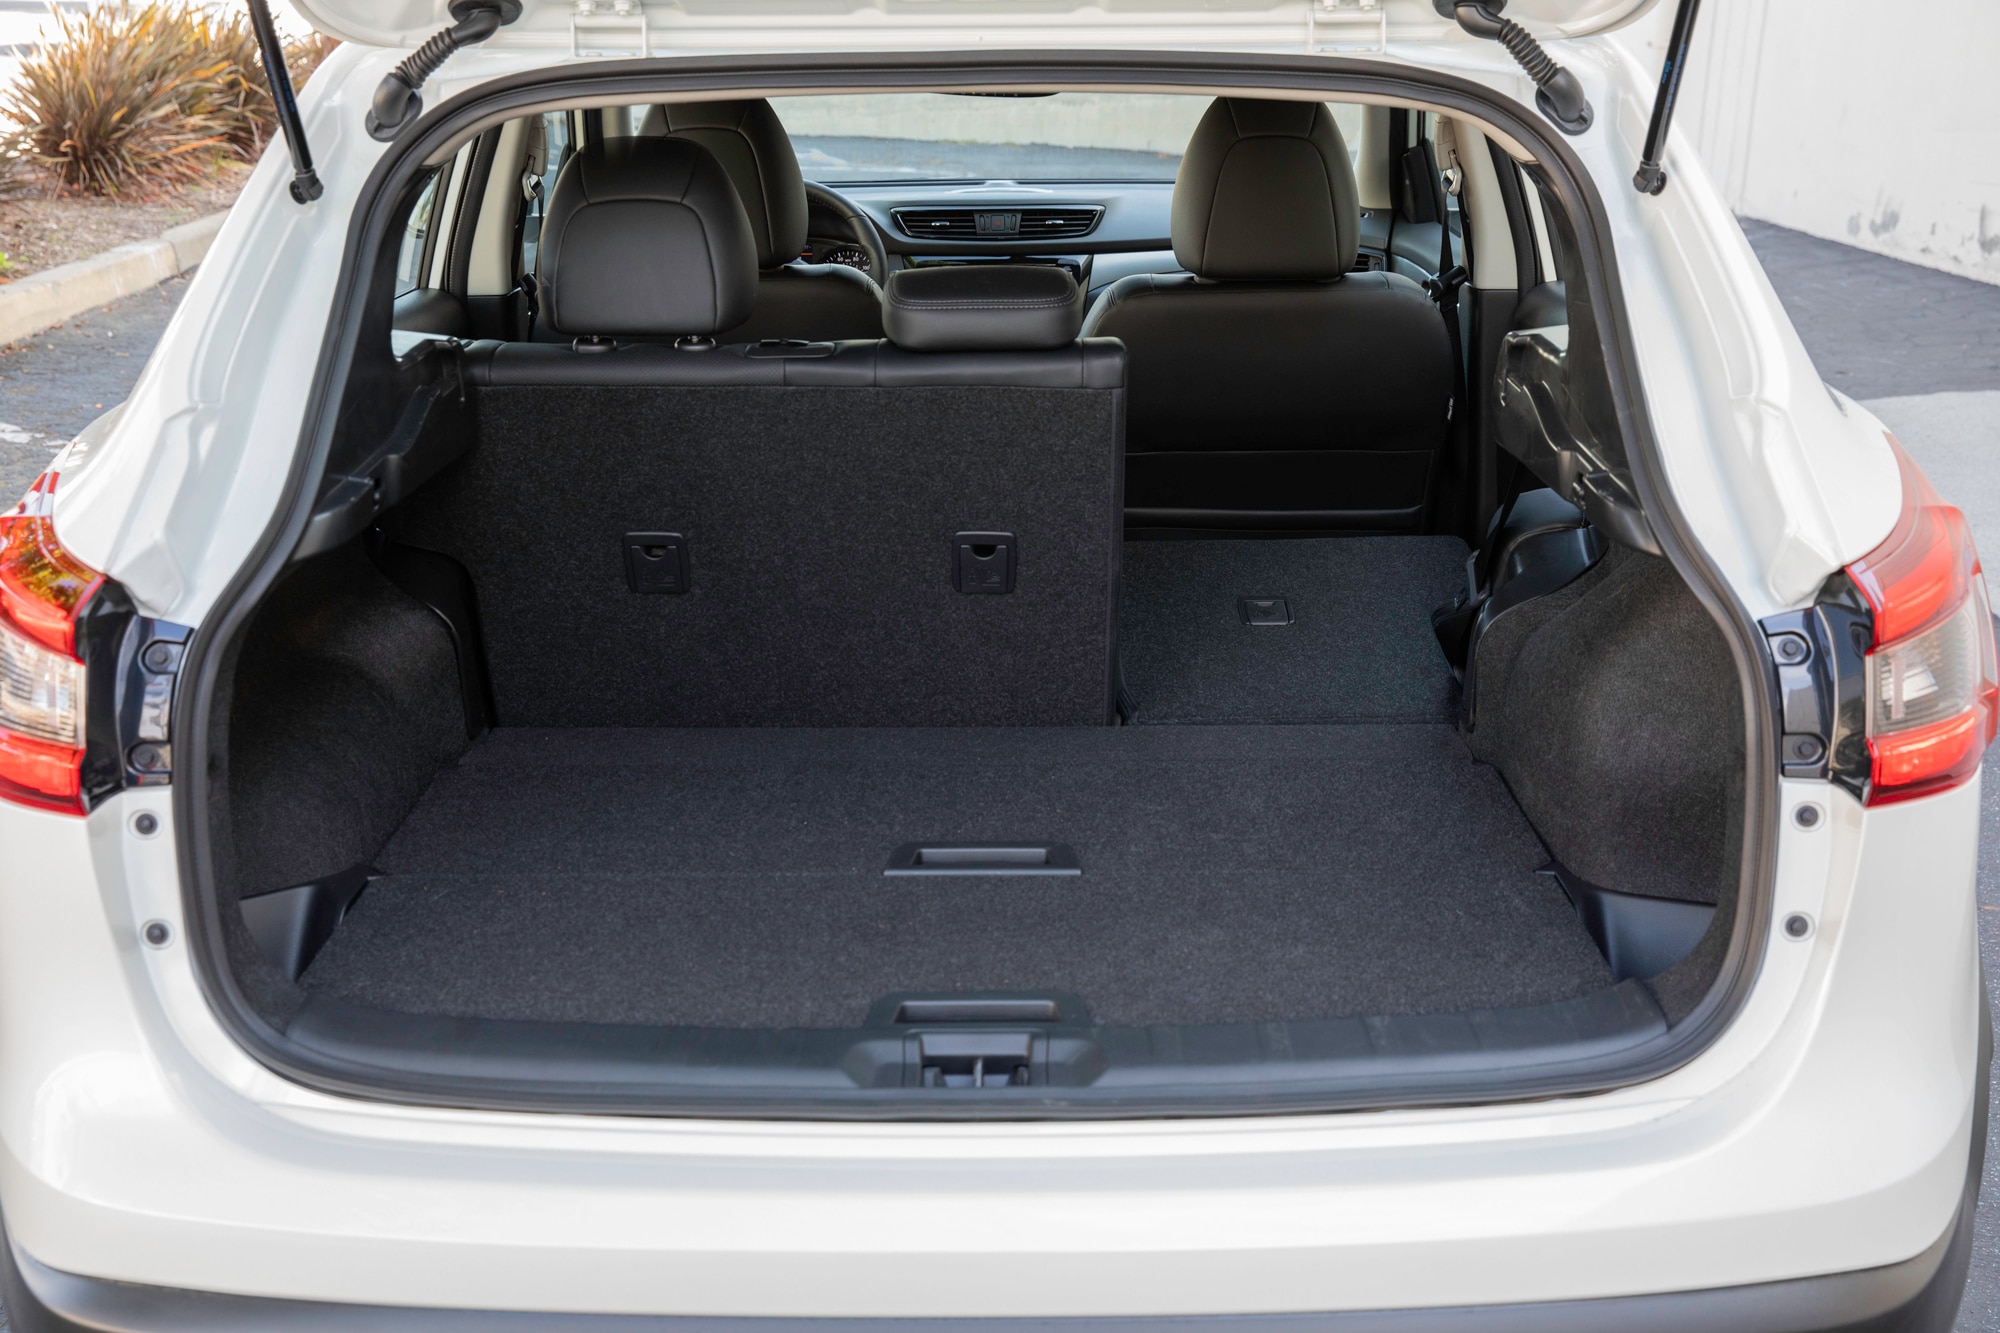
 Nissan
Article QuickTakes:
A limp tailgate or hood can be a real hazard when you're trying to check your oil or unload your groceries. Fortunately, replacing hood and tailgate struts is a straightforward job you can easily do yourself in your own driveway. Here's a look at how hood struts work, what causes them to fail, and what the process is for snapping in a new set to take care of the heavy lifting and protect your noggin.
What Are Tailgate Struts?
Two primary types of hood struts are found in automobiles. Traditional manually activated struts move up and down based on the lifting or closing motion of your hand on a trunk lid or tailgate. These tailgate struts rely on pressurized gas within a cylinder to support the weight of a hood or a hatch. When you open your hood or tailgate, gas moves from one end of the strut to the other through a valve, keeping it equal on either side and functioning as a spring that extends an internal rod. Any closing action pushes the gas back in the other direction, allowing the rod inside the strut to collapse again.
Electric struts use a pump to move hydraulic fluid that automatically extends and retracts the rod to open and close. The principle is the same, but the fluid takes the place of compressed gas in supporting and actuating the movement.
Why Do Tailgate Struts Fail?
A mineral oil fluid helps control the speed of a gas strut's spring-like action, and a seal that slides along the rod keeps the gas and oil in place. Over time, the rubber in this seal can dry out and crack, allowing the compressed gas to escape and reducing the strut's ability to hold a load.
For electric tailgate struts, failure is similar to that of a gas strut, only instead of compressed gas escaping, it's hydraulic fluid that leaks past its seals.
How to Replace Tailgate Struts
Replacing a lift strut is a simple, do-it-yourself project. You will need to open your hatch or hood and then use something to keep it propped open (such as a piece of wood, baseball bat, or broomstick).
Next, you will need to remove the old strut. Look for a bolt at the bottom or top of the component, which will likely require a socket or wrench to remove. Once that is out of the way, the other end of the strut can be pulled out of its socket. You may need to use a screwdriver blade to pop the strut free from this socket, especially if there is a retaining clip to keep it in place. Some tailgate struts may feature additional fasteners that must be removed, but it's generally a simple process on both ends of the part. Powered tailgate struts will also need to be unclipped from the wiring harness prior to removal.
Installing the new strut simply requires you to pop it into the socket and then re-attach the bolt at the other end (and the wiring harness, if necessary). You will need to do this on both sides of the hood or tailgate unless your vehicle only has a single hood strut.


