How to Plasti Dip Your Wheels
Here’s one way to give your ride a little personalized flair on a budget.

 Shutterstock
Article QuickTakes:
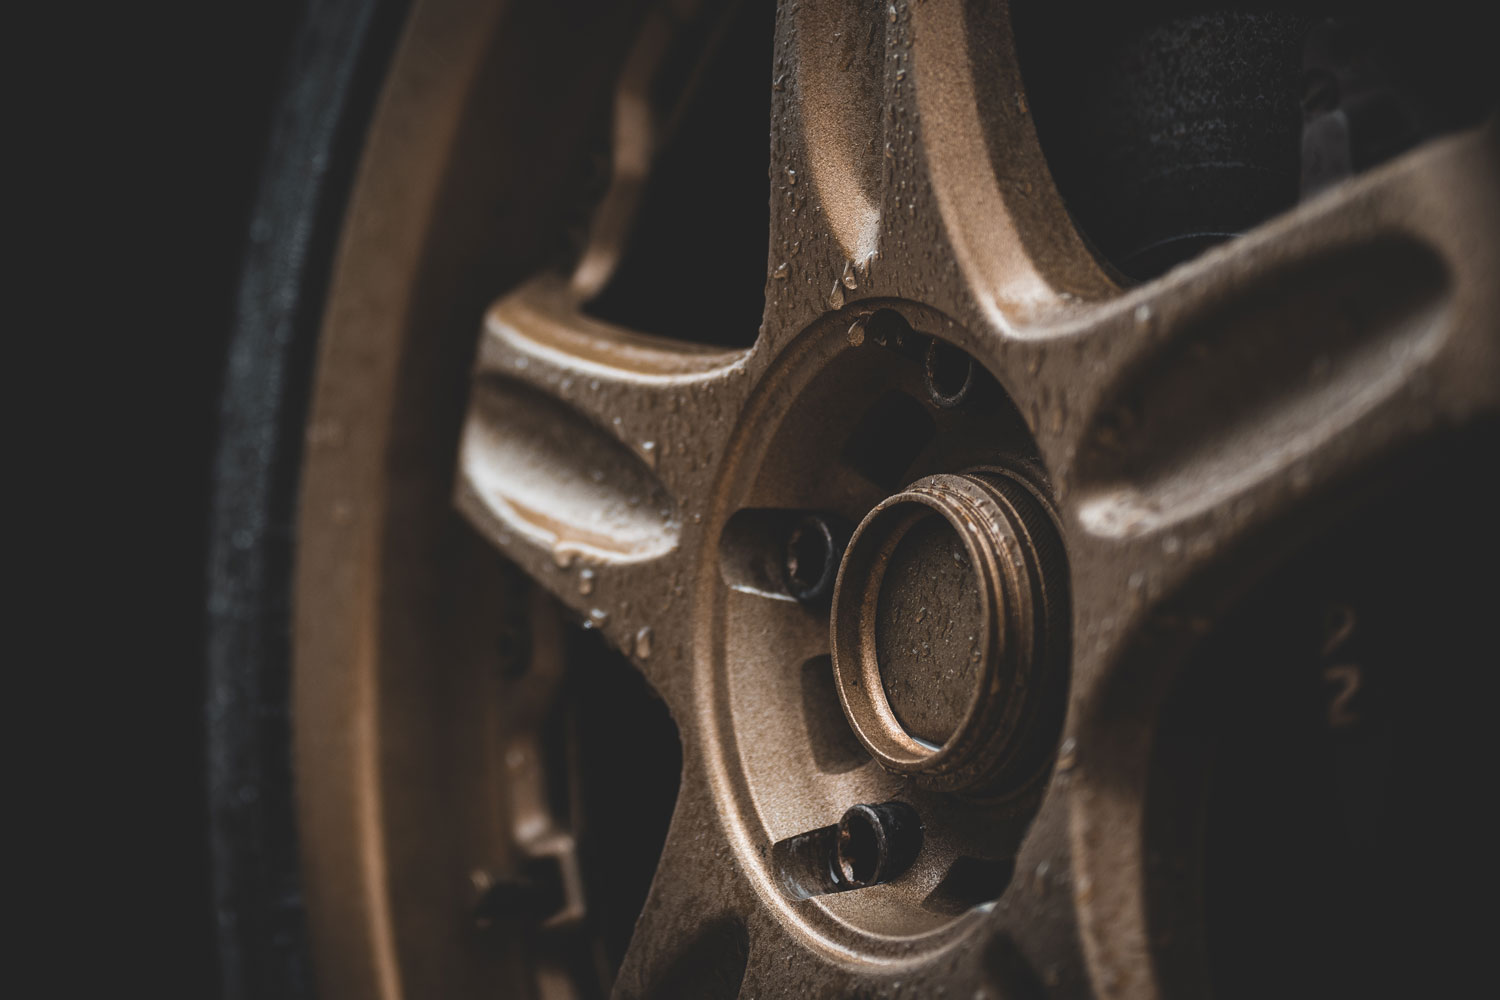
One of the quickest ways to transform the look of your car is to change the color of your wheels. Whether you’re going for the stealthy, blacked-out look, the subtlety of matte bronze, or even a rally-inspired bright white, there are a number of ways to get the job done — and you don’t have to break the bank.
The ultimate option, of course, is to get your new set professionally powder coated, which will leave a high-quality, lasting finish but could also cost you upward of $1,000. But there’s a cheaper and less permanent option, too. The spray-on product Plasti Dip (sometimes misspelled PlastiDip) lets you apply a custom finish yourself for a fraction of the cost. Depending on the color you choose, Plasti Dipping can be quite budget-friendly.
Here are some tips for getting the best results if you Plasti Dip your wheels.
Step 1: Clean and Prep the Area
At the risk of stating the obvious, make sure you’re working with a clean surface. A thorough detailing of your wheels is highly recommended. You don’t want to trap any dirt or brake dust under the rubber coating. Be sure to rinse off the wheels from all angles and use something small like a Q-Tip to get hard-to-reach areas. Then make sure the wheel is completely dry. This is critical to ensure the coating bonds properly.
Once the wheels are sufficiently cleaned, prep them for coating. Keep in mind that Plasti Dip is a spray-on product, so minimizing overspray will ensure a clean, well-executed look. The easiest way to do this is to remove the wheels entirely, but if that isn’t possible, you can also use tarps, bags, cardboard, or other materials to mask areas (like the brake rotors or tires) that you wouldn’t want caught in the crossfire.
Finally, prep your work area. You’ll want to do a thorough sweep and work out of the wind as much as possible. Make sure to secure any masking in a way that it’s not likely to come loose and stick to the wheel while you’re spraying.
Step 2: Apply the Plasti Dip
After your workspace is prepped, you’re almost ready to start spraying. Before laying down your first coat, however, a trick of the trade is to gently heat the Plasti Dip can in some warm water. The warm water should be about 90-100 degrees F. If it’s too hot to stick your hand in and leave it, it’s probably too hot. Leaving it for just a few minutes will reduce air bubbles and help you get the most even application possible. If you warm the can, make sure you thoroughly dry it off so water doesn’t accidentally drip off on your wheels. It’s a good idea to cover your eyes, mouth, and nose with protective eyewear like goggles, and a respirator or mask.
Now you’re ready to start coating your wheels. Standing the wheels upright, hold the can roughly 6 inches away and apply a light yet thorough coat. You’re aiming for roughly 50% coverage the first time around. After letting that coat dry for five to 15 minutes, go for another pass, this time focusing on smaller areas you may have missed. Repeat until the entire wheel is covered. It’s important to be as consistent as possible when applying each coat, and be sure to watch for any bubbles or blemishes as you go. If these occur, it might be wise to pull the coating off and try again.
Repeat the process until you have four or five coats on the wheels.
Bonus: How to Remove Plasti Dip
One of the benefits of working with Plasti Dip is that it’s very easy to remove. If applied correctly, it should simply peel off pretty much in one piece. On the off chance that it shreds or leaves behind residue, treat the area with isopropyl alcohol, Goo Gone, or even WD-40, and immediately rinse off to ensure no damage is done to the paint or finish underneath.